Angular Tutorial - Tour of Heroes - Part 1 (Create a new project)
- Introduction
- Create a new workspace and an initial application
- Serve the application
- Angular components
- Make changes to the application
- Homepage: https://angular.io/
- Documentation: https://angular.io/tutorial/tour-of-heroes
Introduction
This tutorial recaps the official documentation at https://angular.io/tutorial/tour-of-heroes.
In this tutorial, you build your own Angular application from the start. This is a good way to experience a typical development process as you learn Angular application-design concepts, tools, and terminology.
We assume that you have already installed a local development environment (see https://angular.io/guide/setup-local).
We did so as described in our post “Angular Javascript Frontend Framework - Part 1 (Setup)”.
Create a new workspace and an initial application
see https://angular.io/tutorial/tour-of-heroes/toh-pt0#create-a-new-workspace-and-an-initial-application
You develop applications in the context of an Angular workspace. (A collection of Angular projects (that is, applications and libraries) powered by the Angular CLI that are typically co-located in a single source-control repository (such as git).)
A workspace contains the files for one or more projects. A project is the set of files that make up an application or a library.
- Ensure that you aren’t already in an Angular workspace directory. For example, if you’re in the Getting Started workspace from an earlier exercise, navigate to its parent.
ralf@thinkpad:~/development/github.com/datazuul/tutorial-angular-homes$ cd ..
ralf@thinkpad:~/development/github.com/datazuul$
- Create a new workspace and an initial project. Run
ng newfollowed by the application name:
Notes:
ng newprompts you for information about features to include in the initial project. Accept the defaults by pressing the Enter or Return key.- git informs us about branch named
master. We will rename it tomain:
$ ng new tutorial-angular-tour-of-heroes
? Would you like to add Angular routing? No
? Which stylesheet format would you like to use? CSS
CREATE tutorial-angular-tour-of-heroes/README.md (1081 bytes)
CREATE tutorial-angular-tour-of-heroes/.editorconfig (274 bytes)
CREATE tutorial-angular-tour-of-heroes/.gitignore (548 bytes)
CREATE tutorial-angular-tour-of-heroes/angular.json (2825 bytes)
CREATE tutorial-angular-tour-of-heroes/package.json (1062 bytes)
CREATE tutorial-angular-tour-of-heroes/tsconfig.json (901 bytes)
CREATE tutorial-angular-tour-of-heroes/tsconfig.app.json (263 bytes)
CREATE tutorial-angular-tour-of-heroes/tsconfig.spec.json (273 bytes)
CREATE tutorial-angular-tour-of-heroes/.vscode/extensions.json (130 bytes)
CREATE tutorial-angular-tour-of-heroes/.vscode/launch.json (470 bytes)
CREATE tutorial-angular-tour-of-heroes/.vscode/tasks.json (938 bytes)
CREATE tutorial-angular-tour-of-heroes/src/main.ts (214 bytes)
CREATE tutorial-angular-tour-of-heroes/src/favicon.ico (1642 bytes)
CREATE tutorial-angular-tour-of-heroes/src/index.html (313 bytes)
CREATE tutorial-angular-tour-of-heroes/src/styles.css (80 bytes)
CREATE tutorial-angular-tour-of-heroes/src/app/app.module.ts (314 bytes)
CREATE tutorial-angular-tour-of-heroes/src/app/app.component.css (0 bytes)
CREATE tutorial-angular-tour-of-heroes/src/app/app.component.html (23083 bytes)
CREATE tutorial-angular-tour-of-heroes/src/app/app.component.spec.ts (967 bytes)
CREATE tutorial-angular-tour-of-heroes/src/app/app.component.ts (235 bytes)
CREATE tutorial-angular-tour-of-heroes/src/assets/.gitkeep (0 bytes)
✔ Packages installed successfully.
Hinweis: Als Name für den initialen Branch wurde 'master' benutzt. Dieser
Hinweis: Standard-Branchname kann sich ändern. Um den Namen des initialen Branches
Hinweis: zu konfigurieren, der in allen neuen Repositories verwendet werden soll und
Hinweis: um diese Warnung zu unterdrücken, führen Sie aus:
Hinweis:
Hinweis:        git config --global init.defaultBranch <Name>
Hinweis:
Hinweis: Häufig gewählte Namen statt 'master' sind 'main', 'trunk' und
Hinweis: 'development'. Der gerade erstellte Branch kann mit diesem Befehl
Hinweis: umbenannt werden:
Hinweis:
Hinweis:        git branch -m <Name>
    Successfully initialized git.

$ git config --global init.defaultBranch main
$ cd tutorial-angular-tour-of-heroes/
$ git branch -m main
$ git status
Auf Branch main
nichts zu committen, Arbeitsverzeichnis unverändert
$
ng new
- installs the necessary npm packages and other dependencies that Angular requires. This can take a few minutes.
- also creates the following workspace and starter project files:
- A new workspace, with a root directory named
tutorial-angular-tour-of-heroes - An initial skeleton application project in the
src/appsubdirectory - Related configuration files
- A new workspace, with a root directory named
The initial application project contains a simple application that’s ready to run.
Serve the application
see https://angular.io/tutorial/tour-of-heroes/toh-pt0#serve-the-application
Go to the workspace directory and launch the application:
$ cd tutorial-angular-tour-of-heroes/
$ ng serve --open
✔ Browser application bundle generation complete.

Initial Chunk Files   | Names         |  Raw Size
vendor.js             | vendor        |   1.97 MB |
polyfills.js          | polyfills     | 333.02 kB |
styles.css, styles.js | styles        | 230.32 kB |
main.js               | main          |  46.05 kB |
runtime.js            | runtime       |   6.56 kB |

                      | Initial Total |   2.57 MB

Build at: 2023-06-19T14:28:20.712Z - Hash: ff0d78a91e1e083a - Time: 5852ms

** Angular Live Development Server is listening on localhost:4200, open your browser on http://localhost:4200/ **


✔ Compiled successfully.
The ng serve command:
- Builds the application
- Starts the development server
- Watches the source files
- Rebuilds the application as you make changes
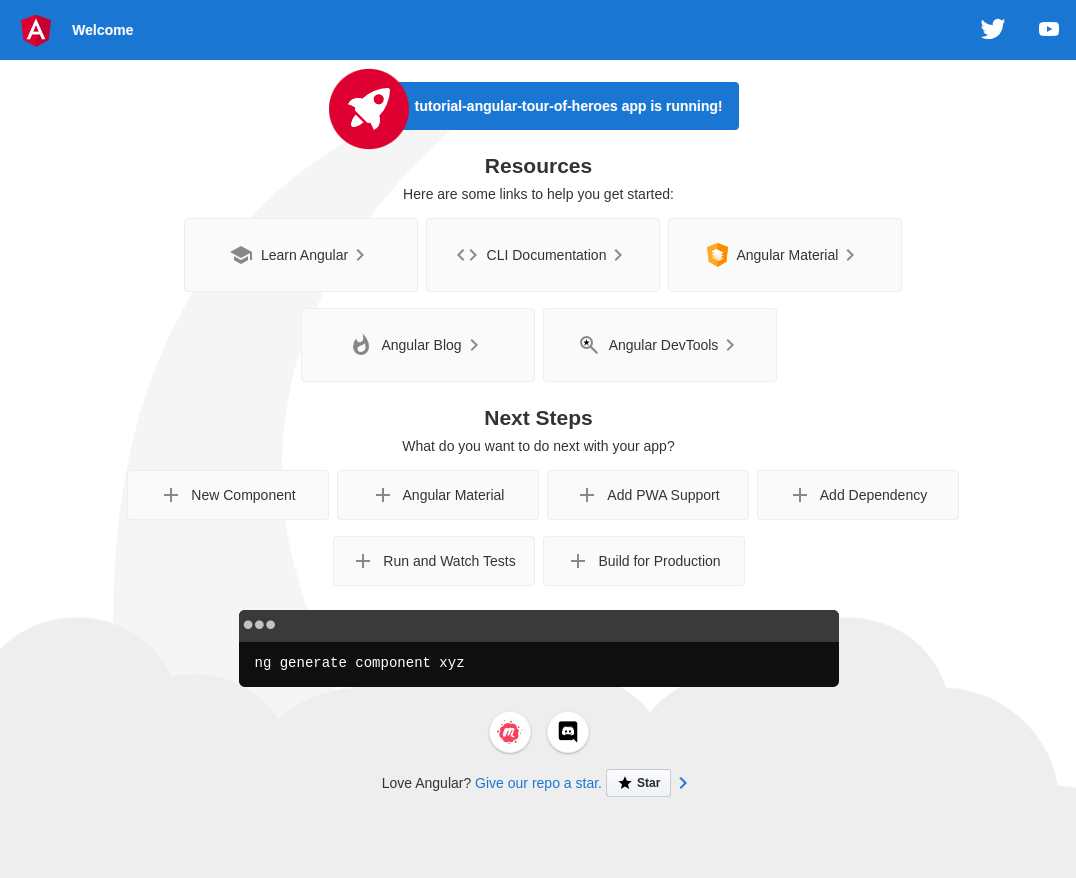
The –open flag opens a browser to http://localhost:4200.
You should see the application running in your browser.
Angular components
see https://angular.io/tutorial/tour-of-heroes/toh-pt0#angular-components
The page you see is the “application shell”. The shell is controlled by an Angular component named AppComponent (defined in generated source code in file src/app/app.component.ts).
Components are the fundamental building blocks of Angular applications. They display data on the screen, listen for user input, and take action based on that input.
Make changes to the application
see https://angular.io/tutorial/tour-of-heroes/toh-pt0#make-changes-to-the-application
Directory structure
- Open the project in your favorite editor or IDE.
- Navigate to the
src/appdirectory to edit the starter application. -
In the IDE, locate these files, which make up the
AppComponentthat you just created:src/app/app.component.ts- The component class code, written in TypeScript.src/app/app.component.html- The component template, written in HTML.src/app/app.component.css- The component’s private CSS styles.
Note: When you ran ng new, Angular created test specifications for your new application. Unfortunately, making these changes breaks your newly created specifications. That won’t be a problem because Angular testing is outside the scope of this tutorial and won’t be used. To learn more about testing with Angular, see Testing.

Change the application title
see https://angular.io/tutorial/tour-of-heroes/toh-pt0#change-the-application-title
Change the title property value to ‘Tour of Heroes’ in src/app/app.component.ts:
export class AppComponent {
  title = 'Tour of Heroes';
}
Replace the generated HTML in src/app/app.component.html with the following line of HTML:
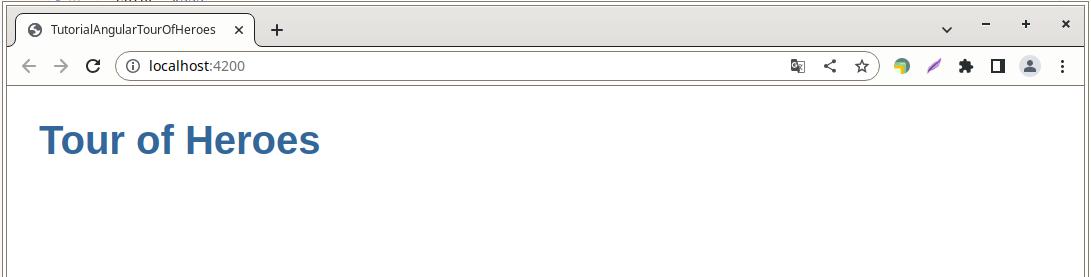
<h1>{{title}}</h1>
The double curly braces are Angular’s “interpolation binding” syntax. This interpolation binding renders the component’s title property value inside the HTML header tag h1.
The browser refreshes and displays the new application title.
Add application styles
see https://angular.io/tutorial/tour-of-heroes/toh-pt0#add-application-styles
Most apps strive for a consistent look across the application. ng new created an empty src/styles.css for this purpose. Put your application-wide styles there.
Just copy the following CSS styles into src/styles.css:
/* Application-wide Styles */
h1 {
  color: #369;
  font-family: Arial, Helvetica, sans-serif;
  font-size: 250%;
}
h2, h3 {
  color: #444;
  font-family: Arial, Helvetica, sans-serif;
  font-weight: lighter;
}
body {
  margin: 2em;
}
body, input[type="text"], button {
  color: #333;
  font-family: Cambria, Georgia, serif;
}
button {
  background-color: #eee;
  border: none;
  border-radius: 4px;
  cursor: pointer;
  color: black;
  font-size: 1.2rem;
  padding: 1rem;
  margin-right: 1rem;
  margin-bottom: 1rem;
  margin-top: 1rem;
}
button:hover {
  background-color: black;
  color: white;
}
button:disabled {
  background-color: #eee;
  color: #aaa;
  cursor: auto;
}

/* everywhere else */
* {
  font-family: Arial, Helvetica, sans-serif;
}
The final result page looks like this: